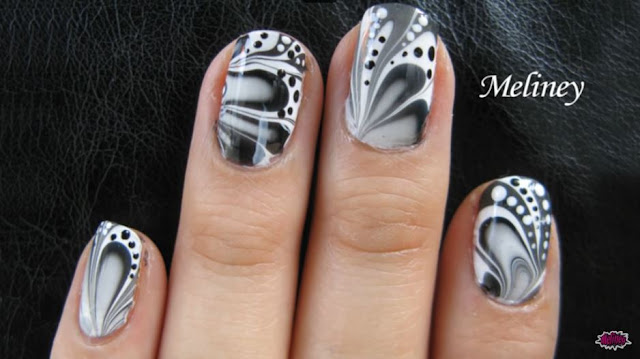
She makes DIY, beauty videos and amazing nail art tutorials. I love how they are always so creative, easy to make and they always turn out fantastic. So we decided to join our nail art forces and create mix and match nails. I came up with this all black and white design, while she created a gorgeous colorful one. Make sure to watch her tutorial.

It will be linked at the end of this video and in the description box. But first, let me show you how to achieve this monochromatic creation, so go grab your black and white polish and let's dive in. My black and white polish are ready but let’s put them on a side for a minute because we have to prime our nails with a base coat first. This way we block the nasty staining and keep our nails pretty and healthy. Alright, now our nails are prepped and ready for some color. Paint your thumb and pointer black. I have to apply two coats for an opaque result. Then paint your middle, ring and pinky finger in white. At this point your nails should look like this.
 Quite a funny manicure! But don't worry because we are just getting started! Time to take out your artistic skills and make some designs! On the ring finger we are making a beautiful flower design. Dip your medium sized dotting tool in black polish and make five dots close together like that to represent the petals. Make several of these flower shapes all over your nail. Some can be bigger, some smaller because there are all sorts of flowers out there. I still need some smaller dots to make the design fuller. Leave the polish dry and then proceed with the white. Make smaller white flower shapes on top of the bigger black ones. This way you will keep that black flower silhouette, which I think looks so stunning. And it seems like the design was so difficult to make when it’s in fact so easy! To complete the design make black dots in the center of each flower. I think this design is so pretty even as an accent nail to a solid manicure. On my right hand I made this design on my thumb and I just switched the colors - so I have white flowers on black background and I absolutely love it! On the pinky we are making the easy and always cute polka dots design. Make a row of dots along the center of the nail and then add two rows by the sides. You can go for bigger or smaller dots, I went for a medium sized ones. If you don't have a dotting tool youkan use a q-tip or a toothpick to make this classic but lovely design. So far we made two black designs on the white background. But, on the middle finger, will making a yin yang which represents balance and will connect all of the black and white designs into a story. Here's how to make a perfect yin yang sign in an easy way! I like to mark three dots along the center of the nail.

Now just connect these dots making an "S" shape using a striper, precise brush or even a toothpick. It doesn't have to be flawless right away, you can always go in later and perfect it. Then color one half in black. Yin Yang represents how opposite forces are actually interdependent and give rise to each other. All we have to do now is make a black dot on the white half and white dot on the black half of the nail. Help! Moving to our black background designs. On the pointer we're drawing white triangles all over the nail. I am using my precise brush, which I got in a craft store for very cheap. And you guys know that I love it for nail art. The triangle lines don't have to be perfect and opaque yet – we are just making a draft first! Now we can go over all the lines again making them bolder and neater. I love this design! The white triangles look so cool on the dark background, don't you think? This design itself could work great on all the nails or as an accent on a ring finger for example. On the thumb let's make some classic and classy vertical stripes. I am not very good with a striper. That's why I decided to use a tape,

which makes perfect stripe designs super easy to achieve. Stick parallel tape pieces along the nail, apply white polish and peel away the tape. Here I am using a nail art tape, but you can make your own DIY nail art tape using usual scotch tape and scissors in minute! My white polish was getting quite thick and gloopy so I had to mix in a few drops of nail polish thinner. Voila! The perfect stripes in no time! Oops I did it again! No problem because the precise brush takes care of such small errors in a sec. And here is our last design all done! I made the same designs on my right hand but I made horizontal stripes on the ring finger and flowers on the thumb. Finally we have to apply a top coat to seal all the designs, add some shine and protection. A matte top coat would look gorgeous on these nails too, but unfortunately I couldn't find it in any local store! That is it for my monochrome mix and match nail art. Youtube
Read More